
How to Use Freezer Paper For Crafts
In this article we’ll cover how to use freezer paper for crafts in a variety of crafts, including English paper piecing, stenciling, printing on fabric, and Distress inks. You’ll also learn how to draw on the paper, use sharp scissors, and even create a stencil! Here are some fun projects to try:
Distress inks
When making crafts with Distress Inks, you’ll probably want to make your projects waterproof. Distress Inks are water-based dye inks that will react with water to move color around on your project. Apply the ink using a sponge or foam blending tool and blend it in circles. You can even use stencils with Distress Inks. The versatility of Distress Inks makes them a great choice for projects involving vintage or shabby chic decor.
First, you’ll need to cut a sheet of freezer paper so that it’s 8 1/2″ by 11″. Alternatively, you can use a piece of printer cardstock. When cutting the freezer paper, make sure to cut it into a square that’s not too big and doesn’t overhang the fabric. Once the freezer paper is on your fabric, use a paintbrush to paint through the stencil. Once the ink is partially dry, remove the paper and repeat.
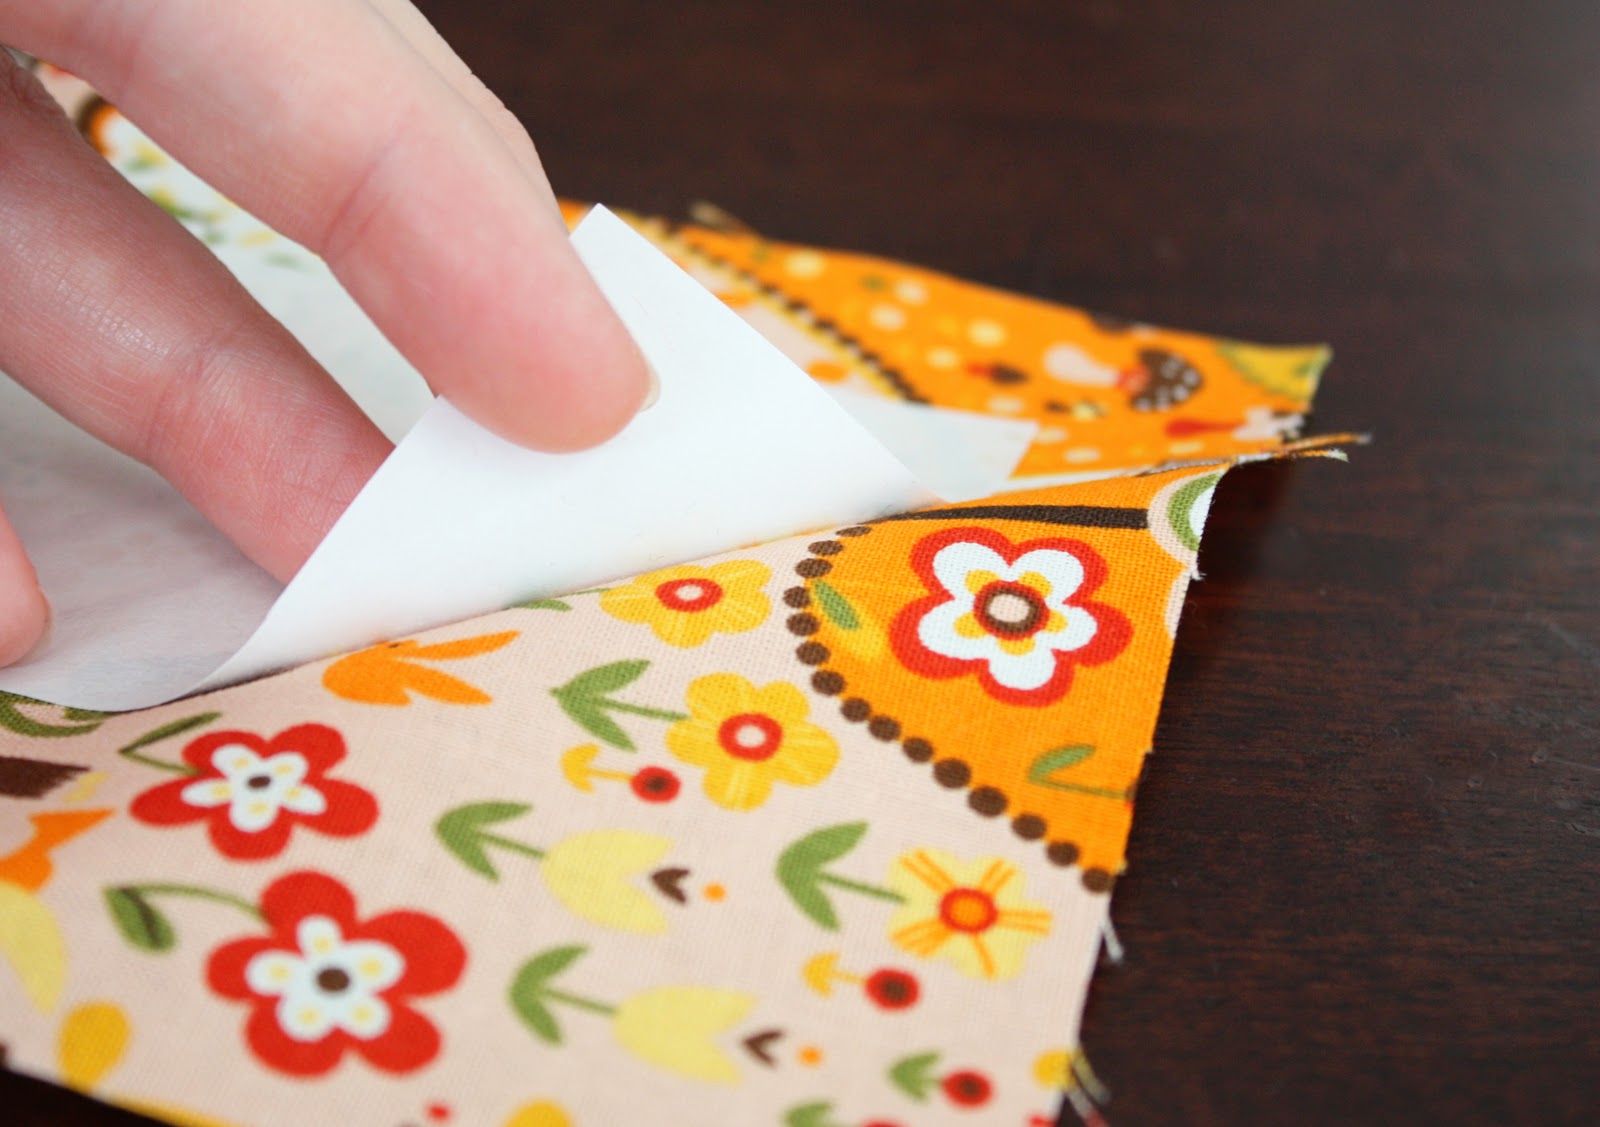
English paper piecing
Fridge paper can be a great way to make templates for quilt blocks. Freezer paper comes in precut sheets that can be ironed onto fabric. After the pieces have been assembled, you can cut them into a variety of shapes. To help you cut your pieces more accurately, you can also print out patterns from the internet and then trace them onto fabric. Once you’re finished, you can peel off the freezer paper, which will make the pattern pieces much easier to remove.
Using a template is the easiest way to start English Paper Piecing. The process is almost entirely hand-sewing, and you will need fabric and scissors. Unlike traditional quilting techniques, you won’t need a sewing machine to complete your project. Once you’ve cut your templates, you can simply sew the fabric to the paper. English Paper Piecing is a great project for beginners, as it allows you to make quilts that look like you spent hours making them.
Stenciling
Stenciling freezer paper can make your crafting projects easier and more creative than ever! Here are a few tips to make stencil cutting easier. First, make sure the fabric is clean and completely dry. Also, use a hot iron to remove the stencil from the fabric. If you want to stencil multiple items, use stencil film. You can get a reusable stencil by purchasing stencil film for your Cricut machine.
You can use stencils on any fabric, whether it’s for a craft project, such as sewing. Simply cut out shapes with a pair of scissors and lay them on the fabric. Iron the freezer paper stencil onto the fabric. Once it is partially dry, peel it off. After you’re satisfied with the results, you can make your creations! If you want to see examples of stencils, visit Instructables.
Printing on fabric
Printing on fabric with freezer paper is an excellent way to add a personalized touch to your crafts. This type of paper has a glossy and dull side that makes it ideal as a backing for home-prepared printables. Unlike ordinary paper, freezer paper will adhere to fabric well and peel off nicely when the printing is complete. It does not leave any residue. Here are the steps to print on fabric using freezer paper:
Start by cutting a piece of freezer paper that is approximately 8 1/2″ x 11″ (or the size of your chosen printer) to fit the piece of fabric. Place the paper so that the ink prints on the fabric side. You should also make sure the paper is smooth and fray-free. Once the fabric is smooth, begin sewing. You can use an iron to smooth the edges. When you finish sewing, you can cut out the shape with scissors.